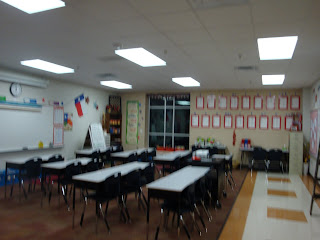
I'm sure many of you are getting a little tired of hearing about my new classroom. I can't help it! I am so excited about my room. I still have tons to share. This is my outside bulletin board as you are walking down the hall. You can't help but see it.

A few little recycled beauties from my old school.
I added this little bit of fluff over my door. I just didn't want anyone to not know which door was mine.

This is a really cool thing. Built into our teacher cabinet, we have two places like this to put bulletin board supplies or charts. I am using them for bigbooks. I also have a few little Maya Road goodies that I have made into hall passes.
As you can see, I have covered tons of chipboard and wood. The other day at the Crafty Scrapper, some ladies were wanting to know the best way to cover chipboard. Well, everyone has their favorite, but I can do this in no time flat. This is how I do it.
You have to have a glass mat and here is the key- the fiscars finger cutter. I only like the orange one. The new retractable one does not give me the pressure I need at all. You can cover the chipboard with modpodge or outline them with your favorite adhesive. Place your piece or pieces of paper on the chip board. Then turn the letter over so the paper is on the glass mat. Take your fiscars and trace around the letter. Easy peasy lemon squeezy. No problem at all. I then take my Basic Grey files and file them. Then I ink. I have been using Ranger Vintage Photo, but this last group was done with Brown Courderoy. I really liked the effect. If you want to do the other side repeat the process. It is important to sand one side before covering the other side.


 I did update the number on my door plaque.


 This is a really cool thing. Built into our teacher cabinet, we have two places like this to put bulletin board supplies or charts. I am using them for bigbooks. I also have a few little Maya Road goodies that I have made into hall passes.


